
If you use AI once in a while, one tool might feel enough. But the moment you start creating regularly, you realize something: one tool can’t do everything well. One tool writes fast but feels generic. Another makes great images but struggles with consistency. Another edits video quickly but makes everything look like a template.
That’s why combining AI content creation tools is the real upgrade. Not “more tools.” Not “more subscriptions.” A smarter workflow.
In this post, I’ll show how I combine AI content creation tools to get better results without chaos. I’ll keep it beginner-friendly, explain tool roles, share exact workflows for blogs, YouTube, and short-form content, and include checklists, ratings, and a FAQ.
Because tools are only half the game. Because workflow is the multiplier. Because small systems beat big tool collections. ✅
The big idea: give each tool one job 🎯
Most beginners make one mistake: they ask one AI tool to do everything.
It can write. It can rewrite. It can plan. It can summarize. It can brainstorm. But when you rely on one tool for every step, your output starts to look the same.
Instead, I use a simple rule:
One tool for thinking. One tool for polishing. One tool for visuals.
That’s enough for most creators.
Why combining AI content creation tools works so well 🧩
When you split tasks, you get:
- better quality (each tool plays to its strength)
- fewer mistakes (you cross-check)
- more originality (you don’t copy one tool’s “voice”)
- faster production (less redoing)
Also, it reduces creative fatigue. You’re not forcing one tool to solve every problem.
My “3-tool stack” for beginners (minimal but powerful) ✅
Here’s the simplest combo I recommend:
1) Writer tool ✍️
Use for: outlines, drafts, ideas
Examples: ChatGPT, Claude, Gemini
2) Design / image tool 🎨
Use for: thumbnails, blog images, visual sections
Examples: Canva, Leonardo, Midjourney
3) Editing / publishing helper 🧰
Use for: captions, formatting, repurposing
Examples: CapCut, Descript, Canva, Google Docs add-ons
You can do a lot with just these.
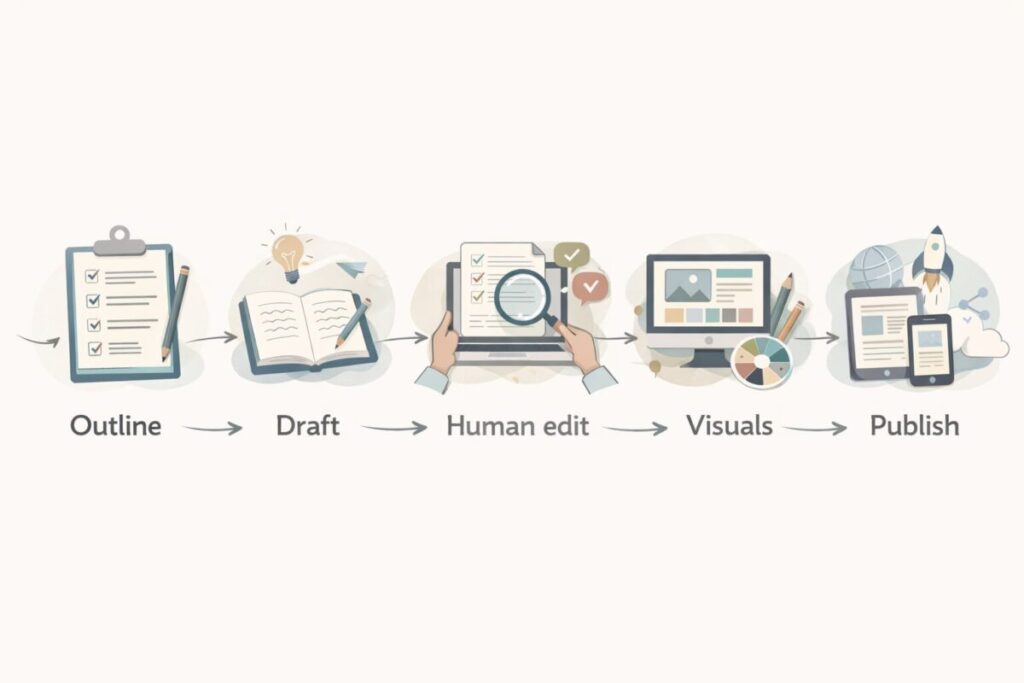
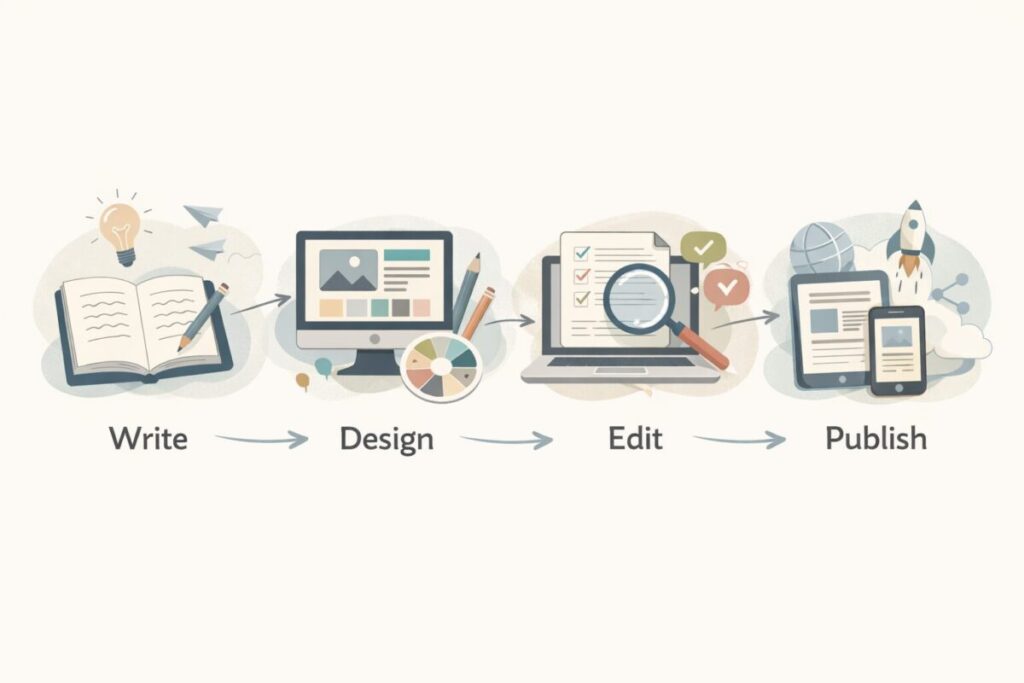
Step-by-step: combine AI content creation tools for blog posts 📝
This is my most beginner-friendly blog workflow. It avoids “robot writing,” improves clarity, and saves time.
Step 1: Outline (Writer tool)
Prompt
- “Create an outline for a beginner blog about (topic). Add H2s, bullet points, examples, and an FAQ.”
Goal: structure, not perfection
Step 2: First draft (Writer tool)
Prompt
- “Write section 1 only, simple language, short paragraphs, add bullets, use a friendly tone.”
Tip: write section-by-section. Long full drafts often get repetitive.
Step 3: Human voice pass (Polish tool or same tool)
Now I add personality:
- my opinion
- one real example
- a short story
- a “what I learned” sentence
This is where your content becomes different from everyone else.
Step 4: Visual support (Design tool)
Create:
- 1 hero image idea
- 1 comparison table infographic
- 2 simple icons or diagrams
- 1 “checklist” graphic
Step 5: Final SEO cleanup (Writer tool)
Prompt
- “Improve readability. Reduce repetition. Add transition words. Keep tone friendly. Keep sentences short.”
Result: cleaner, more human, easier to read.
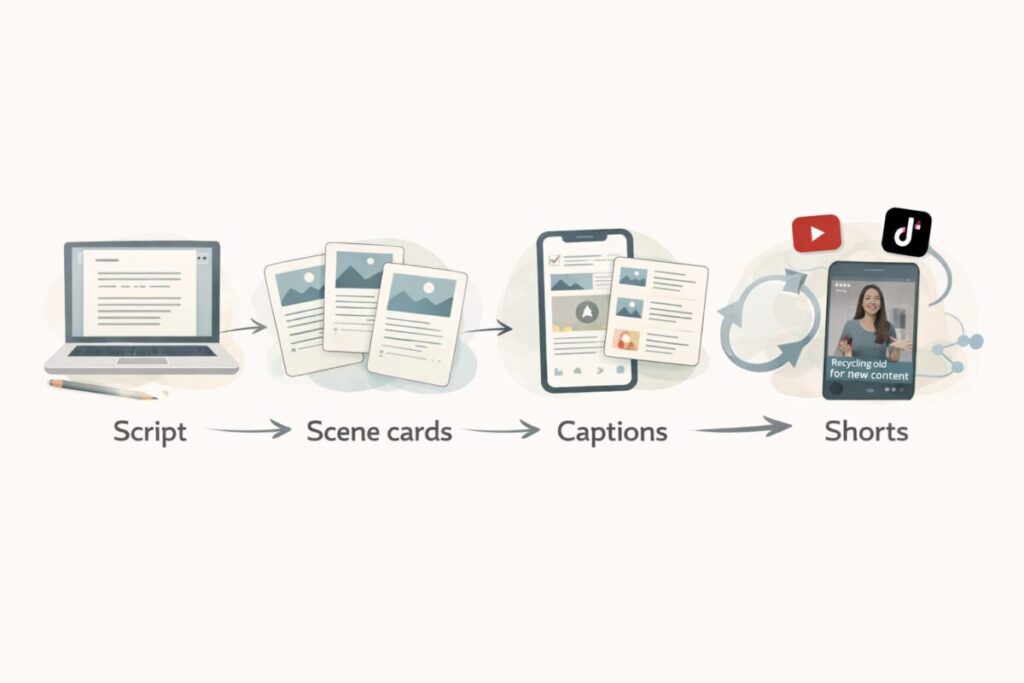
Step-by-step: combine AI content creation tools for YouTube scripts 🎥
YouTube needs structure, pacing, and visuals. Here’s the workflow I use.
Step 1: Hook ideas (Writer tool)
Prompt
- “Give me 15 hooks for a YouTube video about (topic). Make them curiosity-based and beginner friendly.”
Pick one. Don’t overthink.
Step 2: Script outline + scene list (Writer tool)
Prompt
- “Write a 6–8 minute script. Add scene suggestions and voice pauses every 20–30 seconds.”
Step 3: Turn scenes into visuals (Image tool)
Generate:
- 5–12 scenes as images
- 1 cover thumbnail concept
- 2 backup thumbnail versions
Step 4: Edit and captions (Video tool)
Use CapCut/Descript to:
- auto captions
- clean pauses
- highlight keywords
- add zooms gently (not too many)
Step 5: Repurpose (Writer tool)
Prompt
- “Turn this script into 5 short-form clips with hooks, captions, and CTA.”
Now one video becomes many posts.
Step-by-step: combine AI content creation tools for Instagram / Reels / Shorts 📱
Short content is all about speed, clarity, and repeatable templates.
Step 1: Create 10 post ideas (Writer tool)
Prompt
- “Give me 10 beginner post ideas about (topic) in a simple style.”
Step 2: Turn 1 idea into a carousel (Writer tool)
Prompt
- “Write a 7-slide carousel: hook, 5 tips, final CTA. Keep each slide under 12 words.”
Step 3: Design template (Canva)
Build one layout:
- same fonts
- same colors
- same spacing
- same icon style
Step 4: Batch create
Make 5–10 posts in one session. Consistency becomes easy.
“Tool roles” cheat sheet (so you don’t get confused) 🧠
Here’s a simple way to assign jobs:
- Writer tool = outline, draft, rewrite, CTA, FAQ
- Research check = verify anything important (prices, rules, claims)
- Image tool = hero images, thumbnails, illustrations
- Design tool = brand look, templates, tables, infographics
- Video tool = captions, pacing, repurposing
If a tool is used outside its role, quality drops.
Example tool combinations (simple stacks) 🧱
Stack A: Budget beginner stack 🆓
- Writer: ChatGPT free / Gemini free
- Design: Canva free
- Video: CapCut free
Best for: new creators, testing ideas
Rating: 8/10
Stack B: Blogger stack 📝
- Writer: ChatGPT Plus or Claude Pro
- Design: Canva Pro
- Image: Leonardo or Midjourney (optional)
Best for: blog + Pinterest growth
Rating: 9/10
Stack C: YouTube stack 🎥
- Writer: ChatGPT Plus / Claude Pro
- Visuals: Midjourney or Leonardo
- Editing: Descript + CapCut
Best for: faster production with better visuals
Rating: 9.2/10
Stack D: Short-form stack 📱
- Writer: any strong writer tool
- Design: Canva Pro templates
- Repurposing: captions + batch scheduling tools
Best for: daily reels and posts
Rating: 8.8/10
My opinion section (what actually makes results better) 🧠
In my experience, the biggest improvement doesn’t come from buying more AI content creation tools. It comes from a simple system:
- Write in sections
- Add a human voice pass
- Use one visual per key idea
- Repurpose instead of reinventing
I also believe combining tools works best when your workflow is consistent. If you keep changing tools every week, you’ll spend more time learning interfaces than creating content.
So my advice is simple: pick a small stack and stay with it for 30 days. Then adjust based on what truly wastes your time.
Ratings: combining AI content creation tools ⭐
- Speed improvement: 9/10
- Quality improvement: 8.7/10
- Originality improvement (with human pass): 8.5/10
- Ease for beginners: 8/10
- Overall workflow value: 8.8/10
Quick checklist: combine AI content creation tools without getting overwhelmed ✅
Before you add a new tool, ask:
- What job will it do?
- What problem does it solve?
- Will it save me time weekly?
- Can I remove another tool because of it?
If you can’t answer these, don’t add the tool.
FAQ: Combining AI content creation tools ❓
1) Do I need multiple AI tools to create good content?
No. One tool can be enough to start. But combining AI content creation tools can improve quality and speed when you post regularly, especially if you assign each tool a clear job.
2) What is the best beginner combo of AI content creation tools?
A simple combo is: one writer tool + one design tool + one editing tool. For example, a writer for drafts, Canva for visuals, and a video editor for captions and clips.
3) How do I avoid content that feels robotic?
Write in sections, remove repetition, and add a human voice pass. Include personal opinions, real examples, and short sentences. Using visuals also makes content feel more human.
4) How many tools are too many for beginners?
For most beginners, more than 3–4 tools becomes overwhelming. Too many tools create decision fatigue. It’s better to master a small stack than to collect subscriptions.
5) How do I choose which tool to pay for first?
Pay for the tool that saves the most time. If writing takes longest, upgrade writing. If thumbnails take longest, upgrade visuals. If editing stops you from posting, upgrade video tools.
ixqyxw